
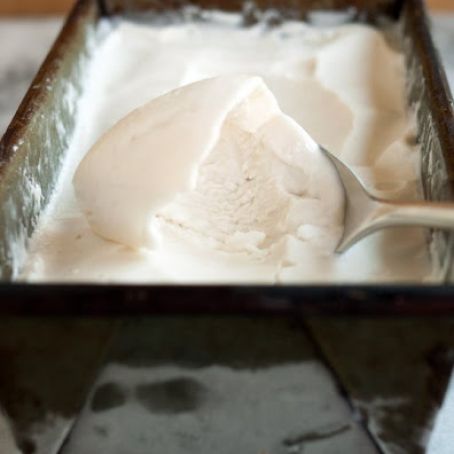
ice cream - coconut, vegan
By tinathorn
Ingredients
- 2 (13- to 15-ounce) cans full-fat coconut milk
- 1/2 cup agave, maple syrup, honey, turbinado sugar, or cane sugar
- 1/4 teaspoon salt
- 2 tablespoons cornstarch (or 1 tablespoon arrowroot starch)
- 1 1/2 teaspoons vanilla extract
- Optional extras: nuts, chocolate (or carob) chips, fruit puree, cacao nibs, etc.
Details
Adapted from thekitchn.com
Preparation
Step 1
Shake the coconut milk: Cans of coconut milk separate into a thick creamy layer and a thin watery layer on the shelf. Before opening them, shake the cans of coconut milk thoroughly to incorporate the layers.
Set aside 1/2 cup coconut milk: Open the cans of coconut milk. Measure 1/2 cup and set this aside.
Pour the coconut milk into a saucepan: Pour the remaining coconut milk into a 2-quart sauce pan.
Add the sweetener and salt to the coconut milk: Measure the sweetener (agave, maple syrup, honey, or sugar). Add this to the coconut milk along with the salt.
Warm the coconut milk on the stove: Warm the coconut milk on the stove over medium-low heat, stirring occasionally, until the sweetener has completely dissolved into the coconut milk, 1 to 2 minutes.
Whisk the cornstarch into the reserved coconut milk: Measure the cornstarch and add it to the reserved 1/2 cup coconut milk. Whisk thoroughly until the cornstarch is totally dissolved.
Add the cornstarch mixture to the coconut milk: Pour the cornstarch mixture into the warm coconut milk while whisking gently.
Heat the ice cream base until thickened: This is your ice cream base. Increase the heat to medium. Stirring occasionally, continue cooking the base until it has thickened enough to coat the back of a spoon, 6 to 8 minutes. Do not allow the base come to a boil.
Stir in the vanilla: Remove the base from heat and stir in the vanilla.
Chill the base: Pour the base into a shallow container. Let the base cool slightly on the counter so it's not hot when you put it in the fridge. Before refrigerating, press a piece of plastic wrap against the surface — this coconut milk base doesn't form a skin quite as badly as a milk-and-egg base, but it doesn't hurt! Cover the container and refrigerate for at least 4 hours or for up to 3 days.
Begin churning the ice cream: Remove the base from the fridge. It should be completely chilled and slightly pudding-like in texture. Pour the base into your ice cream machine and begin churning.
Churn until the ice cream is the consistency of soft-serve: Churn the ice cream until it thickens considerably and is roughly the consistency of soft-serve ice cream. Depending on your machine, this could take anywhere from 10 to 20 minutes — keep an eye on it! If you want to add any extras, add them now and churn a few more seconds until they are fully incorporated.
Transfer to freezer container: Scrape the ice cream into your freezer container. Press a piece of parchment or wax paper agains the surface to prevent ice crystals from forming.
Freeze for at least 4 hours: Transfer the container of ice cream to the freezer and freeze for at least for hours to harden the ice cream.
Warm slightly before serving: If your ice cream is too hard to scoop, let it warm a few minutes on the counter before scooping. I find that coconut ice cream melts a little more quickly than milk-based ice creams, so don't wait too long!
You'll also love
-
 Turnip Green Dip
4.6/5
(7 Votes)
Turnip Green Dip
4.6/5
(7 Votes)
-
 Apricot Vinegar, Fig, Sweet...
4.5/5
(8 Votes)
Apricot Vinegar, Fig, Sweet...
4.5/5
(8 Votes)
-
 Crisp Catfish with Apple-Celery...
4.6/5
(7 Votes)
Crisp Catfish with Apple-Celery...
4.6/5
(7 Votes)
-
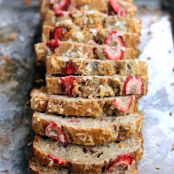
 Coconut Flour Banana Bread with...
4.6/5
(7 Votes)
Coconut Flour Banana Bread with...
4.6/5
(7 Votes)
Review this recipe