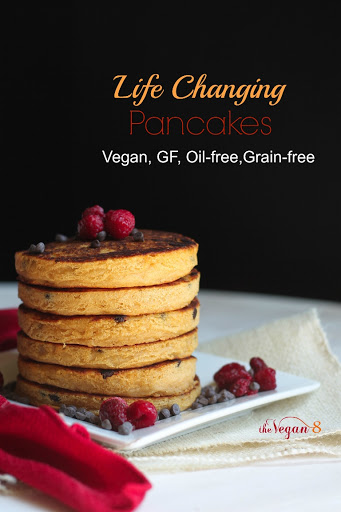
sweet potato pancake
By tinathorn


Ingredients
- 1/4 cup + 1 tablespoon cooked, mashed sweet potato
- 1 cup canned lite coconut milk (237 mL)
- 1 tablespoon vanilla extract
- 2 tablespoons pure maple syrup (30 mL)
- 1 cup + 1/4 cup blanched almond flour (140 g)
- 1/2 cup + 1 tablespoon potato starch, not potato flour (90 g)
- 1 tablespoon + 1 teaspoon baking powder
- 1/2 teaspoon fine sea salt
- 2-3 tablespoons mini dairy-free chocolate chips (30 g)
Details
Adapted from thevegan8.com
Preparation
Step 1
1. Follow each step (referring to the photos above) to ensure your perfect, fluffy pancake. First prepare your potato the day before (see note above). I roasted 1 large whole sweet potato at 405 degrees for about an hour until completely tender. Let cool, then peel and mash really well with a fork and store in the fridge to cool.
2. When measuring the sweet potato, make sure there are no gaps in your cup. Press down gently and then level off with your finger. Add the sweet potato, coconut milk (make sure to shake the can well first), vanilla and syrup to a food processor and process until completely smooth with no lumps remaining. Scrape the sides a couple of times during.
3. In a bowl, combine the almond flour, potato starch, baking powder and salt and whisk really well. When measuring both the almond flour and starch, make sure there are no gaps or lumps. Scoop the ingredients with your measuring cup and lightly pat down and level off with your finger. Add to the food processor and blend just a few seconds until smooth, being careful not to overblend or the batter will become too thick. Pour the batter back into the bowl and stir in the chocolate chips. Let the batter sit for 15-20 minutes. Do not skip this step! After 5 minutes has passed, add a nonstick pan to your stove and turn the heat to medium-low, but closer to low. Your pan needs to heat up about 10 minutes.
4. Place the cookie cutter (I used 4.5 inch one for 1/4 cup batter) on the preheated pan and spray within the circle with nonstick spray. I used coconut oil nonstick spray and it works perfectly. This is necessary so the cookie cutter works and the pancakes don't stick. Nonstick pan works best! I used stainless at first when photographing and it stuck. Immediately after spraying, add a heaping 1/4 cup of batter filling up the circle evenly and spreading out with your spoon. Watch the clock or timer for about 3 minutes, or until the pancake forms some bubbles and the edges/top of the pancake are looking dry. Remove the cookie cutter with tongs (it will be hot!) and carefully, but quickly, slide a thin metal spatula underneath the pancake and flip over. Use your other hand carefully as a guide so the pancake flips over effortlessly. Flipping the pancake quickly ensures it to be mess-free. Do not pat down the pancake with the spatula! Cook for 1-2 minutes on the other side to ensure it cooks through. Repeat the same process for each pancake, not forgetting to spray the cookie cutter each time. The pancakes may start to cook slightly faster after the first few, so just watch for the tops to start to look dry before flipping or slightly lower the heat. Let the pancakes sit for about 5 minutes afterwards because they will continue to cook/fluff up as they sit.
You'll also love
-
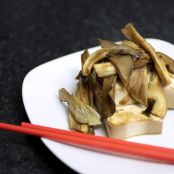 Oyster Mushrooms with Marinated...
4.3/5
(3 Votes)
Oyster Mushrooms with Marinated...
4.3/5
(3 Votes)
-
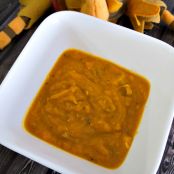 Red Kuri and Apple Soup with...
4/5
(4 Votes)
Red Kuri and Apple Soup with...
4/5
(4 Votes)
-
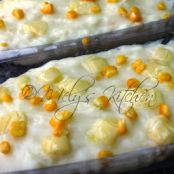 Maja Blanca with Corn and Cheese
4.3/5
(3 Votes)
Maja Blanca with Corn and Cheese
4.3/5
(3 Votes)
-
 Vegan Sweet Potato, Coconut Milk,...
4.8/5
(5 Votes)
Vegan Sweet Potato, Coconut Milk,...
4.8/5
(5 Votes)
-
 Lemon-Glazed Sweet Potatoes
4.2/5
(11 Votes)
Lemon-Glazed Sweet Potatoes
4.2/5
(11 Votes)
Review this recipe