
Lollipops - Picasso Pops
A very quick way to make the perfect colored lollipop! Think about these for parties!
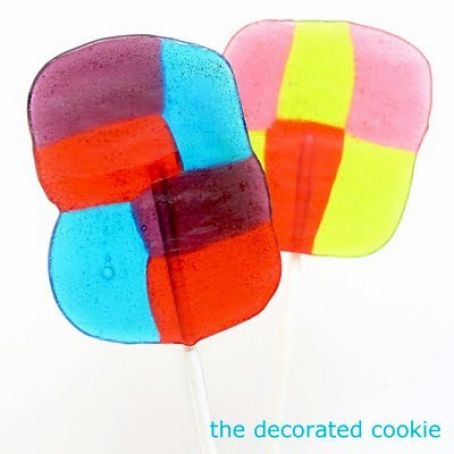
I've seen hard candies turned into lollipops all over the place, such as these Picasso Pops at Better Homes and Gardens. But I thought I'd share the results of my experimenting with this kid-friendly (except for the burning hot oven part) way of making lollipops.
 1 Picture
Ingredients
- you will need:
- lollipop sticks
- hard candies (I used Jolly Rancher hard candies)
- baking tray
- aluminum foil
- parchment paper
- optional: Ziploc bags, rolling pin, cutting board
Details
Preparation
Step 1
step one: assemble your candy
If desired, you can crush hard candies by placing in a Ziploc bag and break up coarsely with a rolling pin on a cutting board. You can use crushed candies in whatever pattern you desire. I didn't crush the candy. I simply used three different colors of whole Jolly Rancher hard candies in a row.
step two: bake your candy
Preheat oven to 275 degrees. Line a baking tray with aluminum foil, then lay a piece of parchment paper on top of the foil. Assemble candies as desired. Only put about 4 lollipops per tray (to leave room for sticks later) and arrange a few inches apart. Bake about 6 minutes or until candies melt to desired effect. Make sure to keep your eye on the pops! Don't let them bake too long or they will be too thin and misshapen. Immediately proceed to step three.
step three: insert stick
As soon as you remove the lollipops from the oven, place stick on lolly at one end, rolling to coat stick with the melted candy. Let cool completely on tray, then carefully remove paper from back. Warning! Your lollies will likely not be perfect ovals or rectangles or whatever shape you hope to create. There will be imperfections, but that's what makes them lovely lollies, no?
Review this recipe