
DIY Egg-Shaped Chalk & Crayons
By TheresaJ
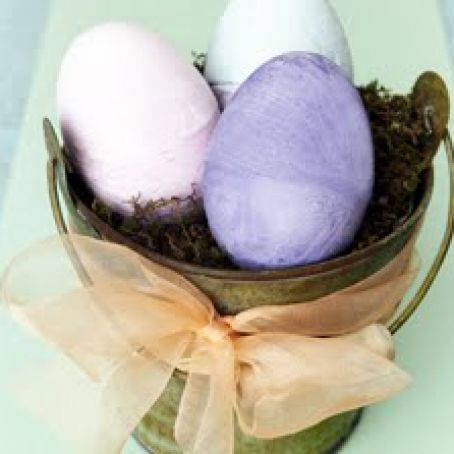
As fun to make as they are to use, homemade chalk and crayons are perfect for kids of all ages. Celebrate spring with colorful craft projects the whole family can enjoy by following our step-by-step instructions to mold your egg-shaped creations.
 1 Picture
Ingredients
- Any type of empty egg carton
- Plastic eggs (larger sizes are best)
- Petroleum jelly
- Paintbrush
- Plaster of Paris
- Tempera paint
- Teaspoon
- Disposable bowls
- Disposable spoons
- Disposable knife
Details
Preparation
Step 1
Instructions
1.Remove the top of your egg carton so the bottom can be used to hold the two halves of each plastic egg. Place the two egg halves across from one another in the carton so they’re easy to pair later.
2.Use your paintbrush to generously coat the inside of each egg with petroleum jelly. Applying this slippery substance will help you remove the dried chalk from its mold.
3.Combine a 1/2 cup of plaster of Paris with a 1/4 cup of water in a disposable bowl and mix. This amount should be enough to create one large egg-shaped piece of chalk.
4.For color, add one teaspoon of tempera paint and mix. To darken the color, try adding one drop of paint at a time until you’ve achieved your desired shade. Consider combining two separate colors to create two-toned eggs!
5.Pour your mixture into the two egg halves, filling them to the top. (For two-toned eggs, pour a different color into each half). Once your bowl is empty, do not pour the remaining plaster into the sink because it can clog your drains when dried. Wait for your mixture to dry in the bowl, then throw the bowl away.
6.Let the chalk mixture thicken in the mold for about 5-10 minutes, then snap the two halves together. Apply pressure to each end of the egg and shake to encourage the plaster to shape to the mold. Tapping the egg can also help with proper shaping.
7.Set the eggs in your carton and allow them to dry overnight. When removing the eggs from their molds, use a plastic, disposable knife to wedge in-between the plastic egg halves if necessary. Once you’ve removed the eggs, they’re ready to go!
Review this recipe