
Slow Cooker Ghee.
By Bailey1_
 1 Picture
Ingredients
- 1 pound unsalted butter
Details
Servings 1
Adapted from leafparade.com
Preparation
Step 1
You might be wondering what on earth this ghee thing is, so I’ll explain briefly. Ghee is very similar to clarified butter, except that it’s cooked a bit longer, giving it a sweet and nutty taste. Butter is actually an emulsion of milk solids, water, and butterfat. When you heat and clarify butter, the emulsion separates — the water evaporates, and you can skim off the milk solids to yield a pure, honey-yellow butterfat. Continuing to cook the separating butter emulsion until the milk solids have browned is what helps to give ghee its brown butter-like sweetness. Ghee has negligible amounts of lactose and casein, making it safe for those who are typically dairy intolerant. It is also the only dairy product that is Whole30 approved!
Make no mistake, though — this stuff is not just for Whole30. Like regular butter, it’s crazy delicious, but, unlike regular butter, it’s also crazy versatile. Regular butter has a very low smoke point, which makes it difficult to use in certain cooking applications, like sauteing or roasting, because it burns too quickly. Because their milk fat is removed, clarified butter and ghee have much higher smoke points, which means that you can use them any which way you’d like. Ghee is safe to keep unrefrigerated for several months; but, of course, you can always store it in the fridge (and even in the freezer) to make it last even longer. I keep mine cool, just to be on the safe side. This How To is a sure thing because it prepares the ghee in the slow cooker, where there’s no muss and no fuss. You can also make ghee on the stove top, and though it’s much faster, it also takes a bit more precision.
Once the milk fat has browned, turn off the slow cooker and remove the cover, allowing the cooked butter to cool, but not all of the way. Now you’ll need to strain the butter to remove the milk fat. Grab a large swatch of cheesecloth and fold it in half twice (doubling it up and then doubling it up again). Lay the cheesecloth over the mouth of a glass jar, allowing it to dip about an inch into the jar, but making sure that the swatch is large enough such that the edges still all hang on the outside of the mouth. Secure the cheese cloth in place using a rubber band. (Alternatively, you can use a nut milk bag or a reusable mesh coffee filter.)
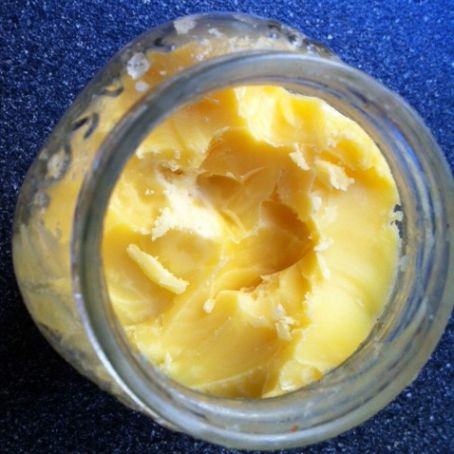
Pour the cooked butter over the cheese cloth. The cloth will collect the brown, crunchy bits, leaving you with pure, honey-golden ghee. Fill the jar to the top, repeat with additional jars as needed, and then dispose of the cheese cloth and cooked milk fat. Skim and dispose of any bubbles or rebel bits of milk fat that have made it to the jar — they will be floating on the top. Allow the ghee to come to room temperature before covering. If you do not, condensation will pool inside the jar, which will turn the ghee rancid if stored at room temperature and will decrease its fridge shelf life. Once it is solid, it can be covered and then stored in the pantry, with no refrigeration necessary. Alternatively, it will stay good in the fridge for at least 3 months, and it can be frozen for 6 months or longer.
Review this recipe