
Egg Dyeing Basics
By RJamoralin
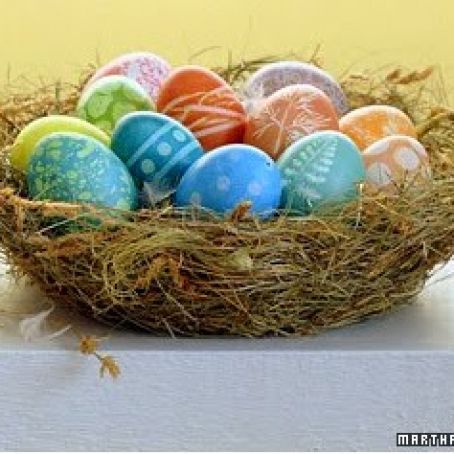
Eggs and dyes are the two central elements of Easter crafts. Decorating eggs perfectly isn't hard; just follow our tips. If you want to save eggs from year to year or turn them into ornaments to hang from branches, blow them out instead of hard-boiling the eggs before dyeing them.
Tip: Try dyeing different types of eggs in order to vary the sizes -- use quail for smaller and goose or ostrich for larger. Also consider dyeing brown eggs to alter the range of colors you can produce.
(Quail eggs are available at specialty-food stores and localharvest.org; ostrich eggshells are avilable at uniquelyemu.com.)
 1 Picture
Ingredients
- eggs
- utility knife
- paper clip
- rubber ear syringe
- paper towels or newspaper
- vinegar
- food coloring
- 1 cup of hot water
- 1/2-inch foam core, cut into about a 10-inch square
- Pencil
- Ruler
- Pins
Details
Adapted from marthastewart.com
Preparation
Step 1
1. To empty a raw egg, begin by using the tip of a sharp utility knife to pierce both ends of the egg; turn the knife in one of the holes to widen it slightly. Then, poke a straightened paper clip through the larger hole to pierce and "stir" the yolk. Hold the egg, larger hole down, over a bowl, and then blow the contents out with a rubber ear syringe.
2.
Protect your work area with paper towels or newspaper. Mix 1 teaspoon of vinegar and 20 drops of food coloring (use more to intensify color) in 1 cup of hot water in a heatproof bowl, cup, or jar deep enough to let you submerge an egg completely.
To create different tints of a color, vary dipping times: Submerge eggs for less than 5 minutes for light colors, and leave the egg in for 10 minutes or more for deeper shades. Using tongs makes handling the eggs easy.
To make a two-color egg, dye the whole egg first in a light color, let dry for 15 minutes, and then submerge half into a darker color (this idea works best for hard-boiled eggs).
3. A drying rack made with pins and foam board keeps things neat.
Egg Drying Rack How-To
A. Use 1/2 inch of foam core cut into a 10-inch square
(you can make it as big or as small as you want).
B. Using a pencil and ruler, draw a grid.
C. Where the lines cross insert pins.
D. Place eggs on pins to dry.
Review this recipe