
Apple Danish Cheesecake
By gestational-diabetes-recipes
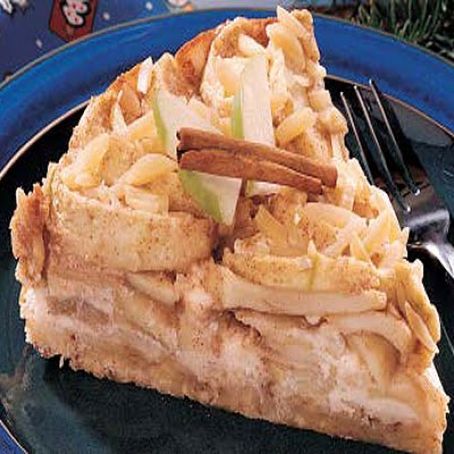
A great recipe for the diabetics who continue to crave good desserts. This Apple Danish Cheesecakes is extremely diabetic-friendly. And also it’s delicious, too!
For all you diabetics out there who long for great desserts, this is a cheesecake recipe for you. This Apple Danish Cheesecake is an easy cheesecake to make, is nutritious, and best of all, it really is tasty.
 1 Picture
Ingredients
- 1 cup all-purpose flour
- 1/2 cup plain almonds, ground
- 1/4 cup Equal-Lite
- 1/2 cup cold butter
- 1/4 tsp almond (or vanilla) extract
- 8 oz cream cheese, softened
- 1/4 cup Equal-Lite
- 1/4 tsp cream of tartar
- 1/3 cup Equal-Lite packed tight
- 1 tsp sugar-free maple-flavored syrup
- 1 tbsp all-purpose flour
- 1 tsp ground cinnamon
- 4 cups peeled and thinly chopped tart apples
- 1/3 cup slivered almonds
Details
Preparation time 20mins
Adapted from gestational-diabetes-diet.com
Preparation
Step 1
1.Preheat oven to 350 degrees. Oil a 9-inch springform pan.
2.To create crust: In a smaller mixing bowl, mix flour, almonds and Equal-Lite. Cut in butter until crumbly.
3.Add extract. Shape dough into a ball and place between two sheets of waxed paper.
4.Roll out into a 10-inch circle.
5.Transfer to prepared container and gently press dough onto bottom and up sides of pan. Refrigerate for 30 minutes.
6.To build filling: In a medium mixing bowl, beat cream cheese, Equal-Lite and cream of tartar until
smooth. Pour over crust.
7.To make topping: In a big mixing container, combine Equal-Lite with the maple-flavored syrup to blend.
8.Add flour and cinnamon and mix to combine.
9.Add apples and stir until coated. Spoon mixture over filling. Sprinkle with almonds.
10.Bake 40-45 minutes or until golden brown.
11.Cool on a wire rack for 10 minutes. Carefully run a knife around edge of container to loosen.
12.cool 60 minutes longer. Refrigerate overnight.
13.Remove sides of pan for serving.
Review this recipe