
Gummy Candies
By trf0ster
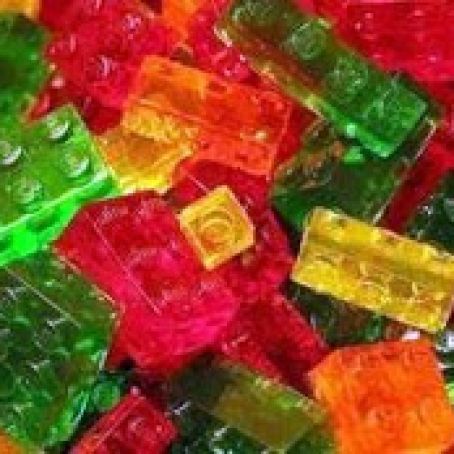 1 Picture
Ingredients
- Recipe:
- 1 package of flavored Gelatin (Jello)
- 3 packets of Unflavored Gelatin (Knox is most common in the US - they come 4 packets to a box)
- 1 500 mg Vitamin C (optional but it adds some great sour flavor)
- 1/3 to 1/2 cup of water
- Tools:
- Pyrex Measuring cup
- A cooking pot that the cup will fit into to make a double broiler.
- A spatula.
- Mold or a flat bottom pan to pour the candy into
- Mortar and Pestle (or a hammer?) to grind up the Vitamin C
Details
Servings 1
Adapted from instructables.com
Preparation
Step 1
Measure 1/3–1/2 cup of cold water into your measuring cup.SPRINKLEthe gelatin powders into the water, as you continuously stir it. Don’t let the dry powder ever pile up, or it will create lumps. Do this rather quickly. The gelatin will immediately start absorbing the water. It will get very thick as you work in the powders. Scrape down the sides of your measuring cup and try to get all the gelatin down in contact with the wet stuff. Cover the pyrex cup with plastic wrap and let it rest for 10 minutes to allow the gelatin to absorb the water.
Put a pan of water on the stove and bring it up to a slow boil/fast simmer. After the resting time, remove the plastic wrap and put the measuring cup in the water. The Jello solution will start to melt, it does take several minutes. Do not stir too often or you will mix air into the mixture which will result in cloudy candy. Once it melts, you will see that it has a layer of foam on top. Try to avoid mixing that foam back into the melted syrup. If you look at the side of the cup you will see there is a very thin layer of clear on the bottom, a layer that isn’t as clear, then the layer of foam on top. As that middle layer heats up, it will start to melt and the air bubbles will release. Keep stirring it gently (without mixing the foam into it). Pause every minute or so and let it sit for a minute. This will let the air bubbles rise. You have to keep stirring and pausing in order to get that middle layer hot enough to clarify. Once it looks like it is almost ready to go clear, I stir in the Vitamin C powder. Because we are sprinkling it on top of the foam some might not get into the candy. That’s ok.
Now stop stirring and just let it sit in the water for about 2 minutes to allow the bubbles to rise.
To fill the molds, put your syringe into the bottom of the cup and suck up all that clear syrup. Then use the syringe to squirt the candy into your mold. If you are not using a mold, gently pour the solution into your pan.
If your mold won’t hold all the syrup you made, turn the heat off and let the cup sit in the water while your first batch of candy is setting up. When you pull the first batch out of the mold, just turn on the stove and melt the syrup that is still in the cup the same way we did it the first time.
You don’t need to use any kind of release (no oil or cooking sprays) with gummies. They will peel off of anything that is smooth. If you get some on your stove, floor, or counter, don’t bother to try to clean it up while it is wet and hot. It’s much easier to just let it set up and peel it off. Same thing with the cup you used, and your spatula. Let it set up and you can just peel out the foam (and eat it! ).
The syrup contracts quite a lot as it cools, and you may need to fill the mold, then go back through and top them all off again as it would shrink way down. For fast set up, put your mold into the freezer. Only leave it in the freezer for 10 or 15 minutes, do not allow it to freeze! If you don’t mind waiting a little longer, you can just stick it in the fridge. It will be fine there without any worries about leaving it too long.
These candies actually do not need to be cooled at all to set up. You can just leave your mold on the counter at room temperature and they will still set up, it just takes longer.
Once they are set up, take them out of the mold. Clean them up if they need it and you are done.
Review this recipe