Strawberry jam canning recipe
By cwyorkiex3
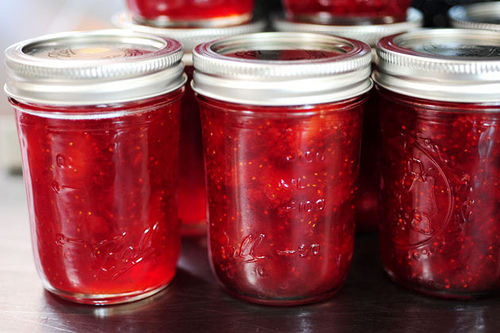
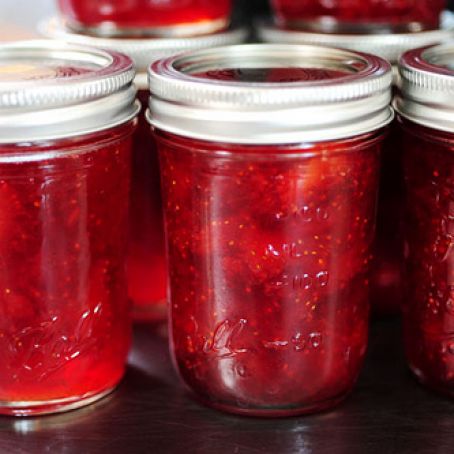
How to can strawberry jam
Making homemade jam provides a great introduction to home canning. Jam is easy to make and everyone likes eating it. As with any home canning project, use the freshest produce possible. Along with tasting great, fresh produce greatly reduces your chances of food spoilage when you preserve it.
Support local growers by buying your strawberries from a fruit stand when they are in season in your area. Even better and more affordable is to pick the strawberries yourself. Some local growers will advertise days when the public can pick directly from the fields. You will get a great value this way. By contributing labor you will easily get a 50 percent discount off retail fruit stand prices and get the absolutely freshest strawberries possible. An hour's worth of picking should yield you more than enough strawberries for 2 batches of jam.


Ingredients
- 5 cups crushed strawberries
- 1/4 cup lemon juice
- 1 package powdered fruit pectin
- 7 cups granulated sugar
Details
Preparation
Step 1
Before cooking the jam, wash your canning jars, bands, and new lids. Then sterilize them in your water bath canner. Heat the water to at least 180 degrees F but keep it just below boiling. Place the jars and lids in the hot water for a few minutes and then remove them and set aside. Sterilizing the bands is not necessary.
Crush the strawberries with a potato masher into a large stock pot. Add the lemon juice and turn on the heat. Gradually add the fruit pectin powder and mix it in thoroughly while bringing the berry mash to a boil. Once the jam reaches a hard rolling boil that cannot be stirred down begin adding the sugar. Stir constantly to make sure all the sugar dissolves. Keep cooking the jam until it returns to a hard boil that cannot be stirred down. Maintain this rolling boil for 1 full minute. Then turn off heat.
Letting the jam cool for 5 or 10 minutes is recommended. Stir it occasionally to keep fruit chunks evenly distributed. At this point the heat should be turned on for the water bath canner. The water will have time to reach a boil while you fill the jars.
Fill the jars with jam and leave 1/4 inch of headspace at the top. Thoroughly wipe clean the jar edges and dry them. Then place the lids on the jars and secure them in place with the bands. Making them hand tight is sufficient. The jars will be hot so be careful handling them.
With a jar lifter, lower the jam jars into the boiling water bath. Boil them for 10 minutes and then remove the jars. (Add at least 5 more minutes for high elevations.) Set the jars on a dry cloth and leave them undisturbed for 12 to 24 hours. You should hear the seals pop tight right away.
The next day, remove the bands, wipe any stickiness off the jars and label them with the date they were processed. They will be good to eat for up to one year.
You'll also love
-
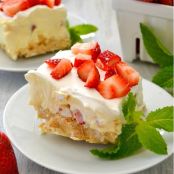 Strawberry Cheesecake Lush Dessert
4.5/5
(21 Votes)
Strawberry Cheesecake Lush Dessert
4.5/5
(21 Votes)
Review this recipe