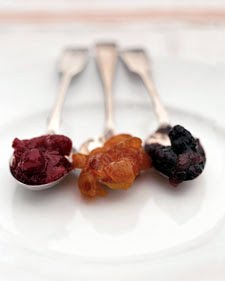
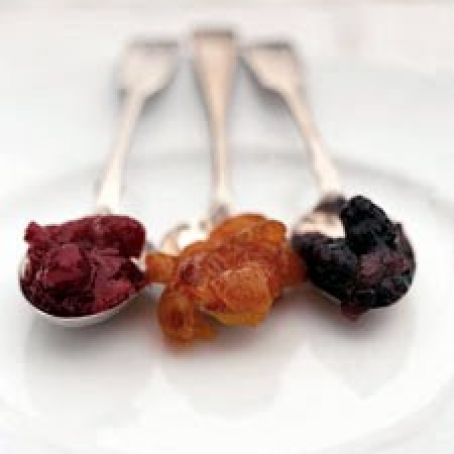
Sour Cherry Preservers
By á-3801
Sour Cherry Preserves let you enjoy the flavors of summer all year long! You can also use frozen sour cherries for this recipe --Use only two cups sugar, and add one cup of juice from the thawed cherries in the second step.
 1 Picture
Ingredients
- 3 pounds fresh sour cherries, without blemishes, stemmed and pitted
- 2 1/2 cups sugar
- 2 tablespoons freshly squeezed lemon juice, about 1 lemon
Details
Servings 3
Preparation
Step 1
Place a round wire rack in the bottom of a large stockpot. The rack should fit as snugly as possible and should stand 1/2 to 1 inch above the bottom of the pot.
Stand the three jars on the rack, and add the lids; it is not necessary to add the screw bands. Fill the pot with enough water to cover the jars by 1 to 2 inches; an additional 1 to 2 inches of space should remain below the rim of the pot so the water doesn't overflow. Bring the water to a simmer (180 degrees., and simmer the lids and jars 10 minutes or until you're ready to fill them.
Place four small plates in the freezer.
In a medium stockpot, combine pitted and stemmed sour cherries, 1/4 cup sugar, and lemon juice; place over medium-high heat. Cook, stirring frequently, until sugar has dissolved, 2 to 3 minutes. Stir in one-third of remaining sugar, and cook, stirring, until it has dissolved, 1 to 2 minutes. Add sugar in two more batches, stirring each batch until sugar has dissolved.
Bring the mixture to a full boil, and cook, stirring frequently, 10 minutes. Place a candy thermometer in the mixture, and cook, stirring frequently, until the temperature registers 220 degrees. 30 to 40 minutes. While cooking, skim any foam that floats to the surface.
With the temperature at 220 degrees. perform a gel test: Remove one of the plates from the freezer, and place a spoonful of the jam on it. Return the plate to the freezer, and wait 1 minute. Remove plate from freezer, and gently nudge the edge of the jam with one finger. If the jam is ready, it will wrinkle slightly when pushed. If it is not ready, it will be too thin to wrinkle. If the jam does not wrinkle on the first attempt, cook two or three minutes more, and repeat the gel test.
Once the jam has gelled properly, remove stockpot from heat. Using canning tongs, remove a jar from the simmering water, and empty the water back into the stockpot.
Place the jar on a clean surface, and insert a canning funnel. Using a ladle, pour the jam through the funnel into the jar; fill to within 1/4 inch of the rim. Remove the funnel; wipe rim with a clean damp towel. Using tongs, lift a lid from the hot water; place lid, sealant side down, on the filled jar. Screw down the band, and tighten firmly, being careful not to force it. With the tongs, stand the filled jar in simmering water. Repeat with the remaining jam and jars, making sure the jars aren't touching sides of pot and are spaced 1 inch apart.
Raise the heat to high, cover stockpot, and bring the water to a boil. Process jars in the boiling water for 10 minutes. Using the canning tongs, transfer the jars to a wire rack to cool completely. Let jars stand 24 hours. Check cooled jars for slight indentation in the lid that indicates a vacuum seal. Store jam in a cool, dark place up to 1 year.
You'll also love
-
 Pork Chops, Italian-Style Skillet
0/5
(0 Votes)
Pork Chops, Italian-Style Skillet
0/5
(0 Votes)
-
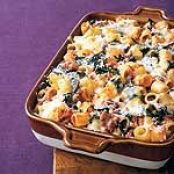 Sausage and Swiss Chard Rigatoni
0/5
(0 Votes)
Sausage and Swiss Chard Rigatoni
0/5
(0 Votes)
-
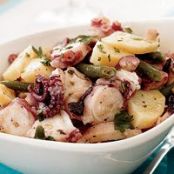 Octopus Salad with Potatoes and...
0/5
(0 Votes)
Octopus Salad with Potatoes and...
0/5
(0 Votes)
-
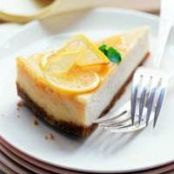 Triple Citrus Cheesecake
0/5
(0 Votes)
Triple Citrus Cheesecake
0/5
(0 Votes)
-
 Apples and Cheese
0/5
(0 Votes)
Apples and Cheese
0/5
(0 Votes)
-
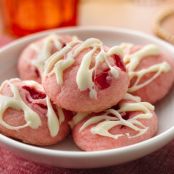
 Cherry Limeade Cupcakes
0/5
(0 Votes)
Cherry Limeade Cupcakes
0/5
(0 Votes)
Review this recipe