Homemade Dulce de Leche
By á-49368
Adapted loosely from Rick Bayless
If you’ve never had dulce de leche before, you’re in for a treat — a sticky, gooey, sweet treat. One of the best parts about making it from scratch is that you can control the sweetness a bit; 1 cup is the standard sugar recommendation per quart of milk, but I’ve also seen and am curious to try it with 3/4 cup. Baking soda is not mandatory here, but it’s supposed to help the final caramel not have any lumps, as well as enhancing the brown color. (Thanks, Maillard!) Some versions contain vanilla, others contain cinnamon (you can leave it in for all or part of the time, if you’re worried it’s getting too cinnamon-y), some contain both — really only add them if that’s the flavor you’re hoping for. If you don’t have a fresh vanilla bean, stir in 1 teaspoon of vanilla extract right before straining and cooling it.
 1 Picture
Ingredients
- 1 to 2-inch segment of vanilla bean (optional)
- 1 quart whole milk (cow or goat, or a combination thereof)
- 1 cup granulated or raw sugar
- 2-inch segment of cinnamon stick (optional)
- 1/4 teaspoon coarse or flaky sea salt (optional, but ooh, it’s good here)
- 1/4 teaspoon baking soda dissolved in 2 teaspoons water
Details
Servings 1
Adapted from smittenkitchen.com
Preparation
Step 1
Split vanilla bean lengthwise. Scrape out seeds and place them, along with the empty vanilla pods, milk, sugar, cinnamon and salt (if using) in a medium-sized (err slightly on the large side) pot. Bring mixture to a simmer, stirring occasionally. Remove the pot from the heat and slowly stir in the baking soda-water mixture — it’s going to foam up if using goats milk, due to the acidity. This is why we use a larger pot; you might want to do this in the sink.
Return the mixture to the stove and keep it at a brisk simmer; if too hot, the mixture will boil over, if too low, it will take forever. Cook, checking in on it occasionally (every 15 minutes) to give it a stir to make sure nothing is sticking to the bottom, until the mixture turns a light brown, about 1 hour.
Check in on and stir the mixture more frequently (about every 5 minutes) as it begins to take on a caramel-brown color and thickens to the consistency of maple syrup, then plant yourself in front of the stove and stir the mixture until it reaches a deeper copper color.
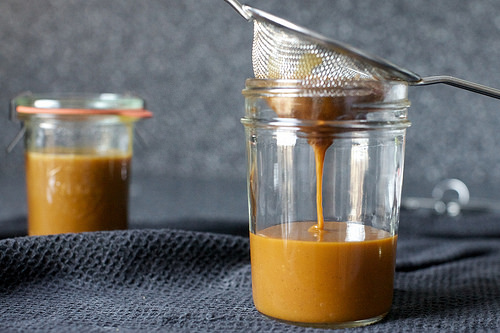
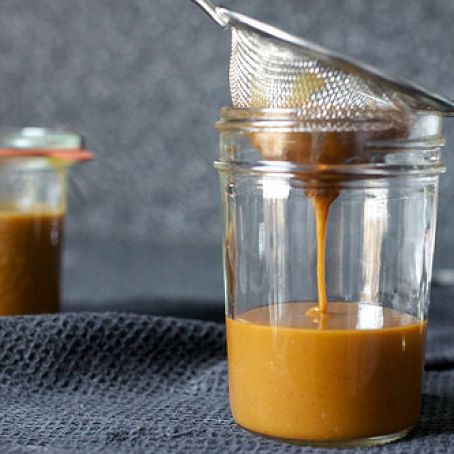
Pour the mixture through a fine-mesh strainer and into jars. Use immediately, or cool completely, storing in the fridge for up to one month with an airtight lid. Rewarm as needed to soften the caramel; a microwave is efficient but you can also warm the jar in a 1- to 2-inch puddle (shorter than the jar lid, of course) of simmering water in a saucepan until it re-liquefies. If mixture seems too thick to pour even after fully reheating, you can stir in a little water, 1 teaspoon at a time.
Serve it: Over everything. Here, I drizzled it on some leftover part-whole wheat crepes from a blintz project (cheese blintz recipe, anyone?) filled with sliced bananas and mango, but it’s also wonderful on ice cream, cakes, churros, or a spoon.
Review this recipe