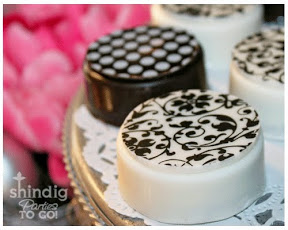
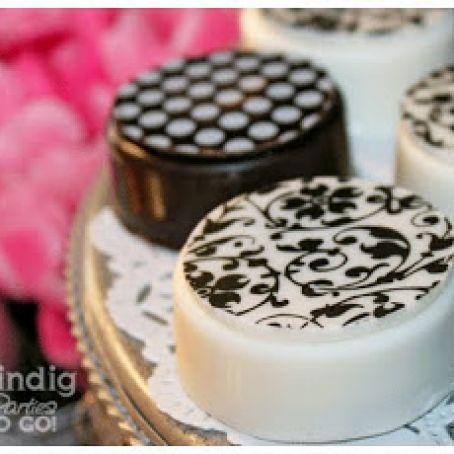
Chocolate Covered Oreos
By á-3443
Seriously, they're almost too pretty to eat. And here's the secret..... Chocolate covered Oreo molds and chocolate transfer sheets. The chocolate transfer sheets are pretty amazing. If you haven't seen these before, they are just plastic sheets covered with a mixture of cocoa butter and FDA approved food coloring and then etched with repetitive designs. By spreading a thin layer of melted chocolate over the sheets and allowing the chocolate to harden, you can create pastry-chef looking results with very little effort. Wow, right?
 1 Picture
Ingredients
- Double stuff Oreos
- Chocolate candy coating
- Chocolate covered Oreo mold (I bought mine from Spinning Leaf on the web)
- Chocolate transfer sheets (I bought mine from Fancy Flours on the web)
- Circle cookie cutter just a bit smaller than the Oreo mold cavity
Details
Preparation
Step 1
Step 1: Melt your chocolate candy coating in the microwave. Put a few squares of chocolate in a glass or ceramic bowl and place in the microwave on 50% power for about 1 minute. Take out, stir and put back in at 50% power for 15 seconds. Keep repeating until the chocolate is melted but be sure not to overheat - it will burn the chocolate and that is a definite no-no. We must not burn the chocolate! Never, ever waste chocolate.
Step 2: Spoon some melted chocolate into your Oreo mold about a third of the way full. Place a Double Stuff Oreo cookie into the chocolate and press down until the top of the cookie is level and just a bit lower that the top of the mold.
Spoon more chocolate over the cookie until it is covered with chocolate. Tap the mold against your countertop to make sure all air bubbles are removed and that the chocolate has gotten down on the sides of the cookie. Next, take a offset spatula or some other flat and straight tool like the back of a large knife and scrape across to level the chocolate out.
Step 3: After filling each of the cookie mold cavities with an Oreo and chocolate and scraping across the top to level off each cookie, place the mold in the refrigerator for about 10 minutes or until the chocolate has firmed up.
Turn the mold over and pop out each chocolate covered cookie. You'll be amazed how perfectly formed they are and how easy it was to make them.
Step 4: Next, take a sharp knife and run around the edge of the cookie to cut off any excess chocolate. Smooth all around the bottom edge with your fingers. (Uhh.... I think I forgot to tell you to wash your hands, but I'm hoping you did that way before Step 1.)
Step 5: Take your chocolate transfer sheet and cut off only the portion that you will be needing. My mold had 6 cavities so I cut a piece wide enough to cut out six circles that would fit on top of the chocolate covered Oreo cookie
Step 6: Place the transfer sheet on top of piece of wax paper (I sprayed the bottom side of the wax paper with Pam cooking spray so that it wouldn't shift around the countertop). Next, pour out some of your melted chocolate on top of the chocolate transfer sheet.
Step 7: Carefully spread the chocolate to cover all of the transfer pattern with an offset spatula or the back side of a large knife. Spread the chocolate until you have a thin, even layer. (Note: Be careful not to shift the bottom layer of chocolate against the design too much -- I made the mistake of doing that and it broke up the design pattern a little.)
Allow the chocolate to set for 5 to 7 minutes or until it's no longer glossy but not completely firm and brittle. At this point, you can cut circles of the chocolate patterns to fit on top of your chocolate covered Oreos. Use a circle cookie cutter just a little smaller than the diameter of your Oreo and press into the thin layer of firmed chocolate. Press and turn the cookie cutter until you have punched out a circle of the chocolate transfer sheet.
Step 8: Put a small dab of melted chocolate on the back side of your patterned chocolate and apply the circle to the top of your chocolate covered Oreo.
Step 9: Repeat the whole process until you've made a plate full of beautiful cookies.
It's really that easy! I definitely recommend buying more than one Oreo cookie mold. Mine came with 6 cavities and it would have been much quicker and more efficient to have 12. But all in all, I was fascinated with the results and with all of the choices of chocolate transfers, it's truly something you could make for all kinds of parties
Review this recipe