
Ingredients
- 3 cups bread flour (13.5oz)
- 1 tablespoon sugar
- 1 tablespoon salt
- 1 tablespoon active dry yeast
- 1 egg
- 6 oz warm water (100F)
- 2 oz olive oil
- 2 tablespoons fresh rosemary
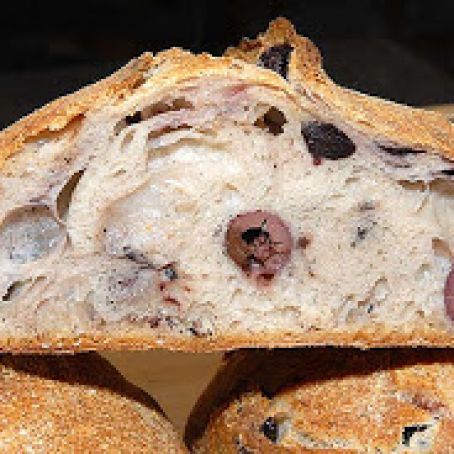
- 1 cup pitted olives
Details
Servings 1
Preparation
Step 1
Directions
Dissolve the yeast in the warm water.
Combine beaten egg, olive oil, sugar, rosemary and olives and add the
yeast/water mixture.
Add flour and knead for 5 minutes.
Let the dough rest for 15 minutes.
Add salt and knead for another 5 minutes.
Place dough in bowl greased with olive oil. Cover. Let rise for one hour in a warm spot (90F).
Remove the dough. Knead it a bit. Form it into a ball and place on parchment paper.
Loosely cover with a towel and place it in a warm spot (90F) for 30 min.
Pre-heat the oven for one hour at 400F.
Slash the top of the loaf before baking. Bake for 45 minutes or so on a pizza stone or in a cloche until the loaf registers 180F in the center.
Remove from the oven and allow to cool for two hours or so before eating.
Notes
*The baker’s best friends are the scale, the thermometer, and the timer. I really don’t know how to bake without them anymore. For example, everyone’s “cup” of flour is very different. The only way to maintain consistency is to do almost everything (but especially flour and water) by weight.
*I use kosher salt. Specifically, Diamond Crystal kosher salt. It’s the industry standard in the restaurant world. Personally, I think there is no other salt that makes food taste better. However, if you are using table salt, use a little less than a tablespoon (the grains are smaller) and if you are using sea salt, use a little more than a tablespoon (the grains are bigger).
*The period of rest between the two kneadings is called autolyse. It allows the gluten to begin to form before the dough has to deal with the stress of further mixing. Try it, it really works! And the best part is that it requires no effort!
*I always add the salt in after the autolyse and allow to to incorporate into the dough during the second mixing. Salt tends to tighten the gluten (making it hard to knead) and can kill yeast, so it’s best to give things a little time to get started.
*The first rise for this dough is a higher temperature than normally given in recipes. This is due to the fact that it is a very heavy dough. The yeast needs to be very warm so they can be very active and make a lot of gas to raise the loaf. It’s not a problem, but you have to keep an eye on it to make sure it doesn’t over-proof.
*The slash on the top of the bread allows the bread to expand during baking without ripping (which destroys the form). Even worse, if there is no slash, sometimes the surface tension on the dough is too great, the bread doesn’t spring in the oven, and you get a brick. Good for the birds, not so much for people. Even dogs don’t really like it. We use a razor blade, but you can use a sharp knife or whatever is handy.
*My favorite thing in the world is the cloche. It replicates a real baker’s oven at a fraction of the cost. Not only does it provide radiant heat all around the bread from the stone, but it allows a high level of humidity around the baking loaf for the first few minutes. This is important because it keeps the surface of the loaf supple and allows it to spring to it’s final size during the first few minutes of baking. Below, you’ll see our cloche on top of the baking stone in the oven. The jagged nubs on the top are from me breaking the handle off the very first time I put it in the oven!
You'll also love
-
 Potato Croquettes
4.5/5
(4 Votes)
Potato Croquettes
4.5/5
(4 Votes)
-
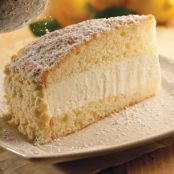
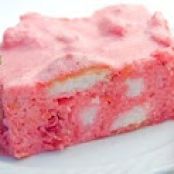 Simple Strawberry Jello Cake
4.5/5
(4 Votes)
Simple Strawberry Jello Cake
4.5/5
(4 Votes)
-
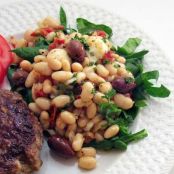
 Seared Shrimp, Scallop and Grape...
4.5/5
(4 Votes)
Seared Shrimp, Scallop and Grape...
4.5/5
(4 Votes)
-
 Rosemary-Olive Oil Potato Chips
4.4/5
(14 Votes)
Rosemary-Olive Oil Potato Chips
4.4/5
(14 Votes)
Review this recipe