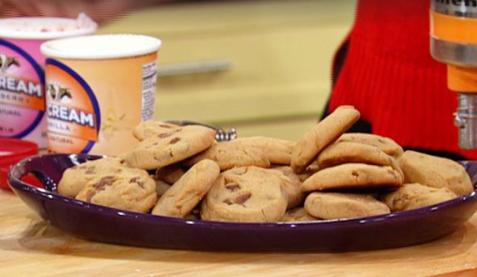
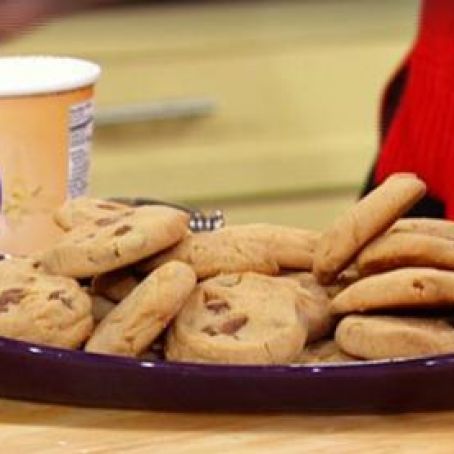
Buddy Valastro’s Peanut Butter Cookies
By carvalhohm
 1 Picture
Ingredients
- 3/4 cup creamy peanut butter
- 1/4 cup vegetable shortening (such as Crisco)
- 1/4 cup tightly packed light brown sugar
- 1 extra-large egg
- 1 14-ounce can sweetened condensed milk
- 1 teaspoon pure vanilla extract
- 1 1/2 cups all-purpose flour, plus more for flouring your work surface
- 2 teaspoons baking powder
- 1/2 cup milk chocolate chips
- 1/2 cup peanut butter chips
- 1/2 cup unsalted peanuts, chopped (optional)
Details
Servings 1
Adapted from rachaelrayshow.com
Preparation
Step 1
Position a rack in the center of the oven and preheat to 325°F.
Put the peanut butter, shortening and sugar in the bowl of a stand mixer fitted with the paddle attachment. (If you use a hand mixer, let the peanut butter soften at room temperature before beginning). Cream together at low speed to ensure there are no lumps. Add the egg and beat at medium speed until the ingredients are blended together, about 1 minute. Stop and scrape with a rubber spatula.
Add the condensed milk and vanilla extract. Beat on low speed for 1 minute, stop and scrape, then continue to mix until the mixture is smooth and shiny, about another 30 seconds. Turn off the mixer.
Put the flour and baking powder in a small bowl and stir together with a fork or whisk. Add to the mixer bowl. Mix on low speed for about 1 minute. Stop and scrape. Continue to mix on low speed for another minute. Then, with the motor running, sprinkle in the chocolate and peanut butter chips. If you’re adding the chopped peanuts, add them at this point. Keep mixing until the chips are evenly distributed, 30 seconds to 1 minute. (The dough can be wrapped in plastic wrap and refrigerated for up to 1 week or frozen for up to two months. Let it come to room temperature before cutting the cookies.*)
Line two cookie sheets with parchment paper, using nonstick spray or a dab of butter in each corner to glue the paper in place. (If you have more than two cookie sheets, line a third sheet to speed up the process of baking in batches.)
Flour a work surface and turn the dough out onto the surface. Divide the dough in half. Roll one half out into a cylinder 20 inches long and 1 inch in diameter. Use a knife to cut the dough crosswise into 1-inch segments. (You should have 15 to 18 segments.) Quickly roll each segment into a ball and press down with the palm of your hand until the dough is squeezed down to 1/2 inch high. (You don’t want to take too much time rolling each one or your hands will warm up the dough too much.) Arrange the discs on the pans, about 12 per pan, about 1 inch from the edge and 2 inches apart. Repeat with the remaining dough.
Bake the cookies in batches until golden-brown on top and brown at the edges, about 8 minutes. (If they crack a little bit on top, that’s all right.) The cookies will still be soft but the carryover heat will finish cooking them. Remove the cookie sheets from the oven. As soon as the cookies can be moved, after about 10 minutes, use a spatula to transfer them to a rack and let them cook.
These cookies are best enjoyed as soon as they have cooled enough to handle and eat, but will keep for up to 2 days in an airtight container at room temperature.
* Tip: It’s tempting to freeze dough in cylinders because we’ve all seen that slice-your-own ready-made dough in the supermarket. But it’s so much better to freeze raw cookies after cutting them because it will speed the thawing process when you’re ready to bake. After cutting them, dust them with flour to keep them from sticking, put them in a freezer bag, and freeze them. When ready to bake, let them thaw completely, roll, press and bake as described in the recipe.
Review this recipe